A rented flat rarely comes with a study. You get a bedroom with one usable corner, a living room doing three jobs, and a tenancy agreement that takes a dim view of holes in the wall. Working from the kitchen table gets old by about Wednesday.
None of that stops you building a proper desk setup. With a freestanding desk, a few clamps and some removable adhesive, you can make somewhere genuinely comfortable to work — then hand the room back exactly as you found it.
Measure the room before you buy anything
Most home office mistakes start in the shop, not the spare room. Walk round with a tape measure and note:
- How much clear wall you actually have, once skirting boards, radiators and curtain hems are accounted for
- Where the nearest double socket is, and how a cable would reach it
- Which doors, cupboards and drawers need to swing past the desk
- Floor type, because a rolling chair behaves differently on carpet, laminate and old floorboards
- Window position — light falling across the desk is easier on the eyes than a screen facing the window
A desk about 120cm wide and 60cm deep comfortably takes a laptop and a separate monitor; for laptop-only work you can go as narrow as 40cm. Tape the footprint on the floor and live with it for a day before buying anything.
Choosing a desk that needs no fixings
Anything described as wall-mounted is off the list. Everything else is fair game.
A freestanding desk is the simplest answer if you have the wall for it. Drop-leaf and gateleg designs fold down to console-table depth and open out when you need them. Slim 35–40cm console desks suit laptop-only setups tucked beside a bed or behind a door. A vintage writing bureau hides the entire office behind a lid, which is useful when your desk lives in the living room.
Second-hand is worth the effort. Solid wood desks turn up in charity shops and house clearances, and they hold their value better than flat-pack. Check the joints for wobble, and measure the doorway and stair turn before you commit.
If space is really tight
A 90cm desk with no drawers often fits where a 120cm one with a pedestal never will. The drawers can live in a lidded box under the bed.
No-drill fixing methods that hold
No-drill does not mean no limits. Every clamp, strip and pole has a stated weight limit, and it is worth treating that as a best-case figure in a warm room with uneven paint. If the thing being held is expensive, stay well under it.
- Clamps. Small G-clamps and trigger clamps hold lamps, monitor arms, headphone hooks and cable trays onto the desk itself, leaving nothing behind.
- Removable adhesive strips. Fine for cable clips, a small whiteboard or a picture. Clean the surface, press firmly for the full recommended time before loading, and peel slowly with gentle warmth from a hairdryer.
- Pressure-fit poles. Useful for a shelf in a chimney alcove between two solid walls. They need firm, flat surfaces and perform poorly on weak plaster.
- Straps and anchors. Bookcases should be secured to something. Where you cannot fix to the wall, strap the unit to the desk or another heavy piece of furniture.
- Heavy-duty hook-and-loop tape. The right answer for attaching a power strip to a desk leg or rear rail.
Two cautions. Never hang a monitor or a shelf from adhesive. And keep strips away from wallpaper and freshly painted walls, where they can lift the surface when they come off — test in a spot nobody will ever look at. Check your tenancy agreement before attaching anything, and if you are unsure what is allowed, ask your letting agent in writing and keep the reply.
Cable management without touching the wall
Trailing cables are what make a temporary setup look temporary. Almost all of it can be fixed to the desk rather than the room.
Run a cable tray under the back edge, or clip cables along the rear of the desk. The desk is yours to mark; the wall is not. Bundle runs with hook-and-loop ties rather than zip ties, so you can add or remove a cable without cutting anything. A fabric sleeve tidies the drop to the floor, and a lidded box at the skirting hides the extension lead and the router.
Keep the load sensible: do not daisy-chain extension leads, do not run cables under a rug where they cannot cool, and do not overload one socket with high-draw equipment. If the wiring in the flat feels questionable, that is a job for a qualified electrician.
Seating, light and the details you notice daily
The desk matters less than the chair. A decent second-hand office chair beats a stylish dining chair every time — check that the gas lift holds your weight and the castors roll cleanly. On carpet, a chair mat stops you grinding a worn patch into the pile; on hard floors, felt glides protect both the floor and your downstairs neighbours' patience.
For light, a clamp lamp on the desk edge or a floor lamp behind your shoulder usually works better than a ceiling light overhead. Set the top of your screen near eye level, keep your elbows close to a right angle, and support your feet on a box or a footrest.
Clamp-on monitor arms save real space, but they need a solid top of the right thickness — glass and hollow-core flat-pack tops will not take the pressure. If in doubt, use a monitor riser instead. And if you are getting persistent neck, wrist or back discomfort, see a GP or physiotherapist rather than trying to fix it with another cushion.
Make it look like it belongs there
A rented room usually has one fixed layout and no spare wall, so treat the desk as furniture rather than equipment. A rug under the chair defines the working zone. A plant, a leaning shelf for books and a framed print resting on the windowsill all read as deliberate choices. Keep to the colours already in the room, hide the printer on a low stool underneath, and put the stationery in one lidded box.
Your weekend setup plan
If you would rather do this once and get it right, work in this order:
- Measure the space, tape the footprint on the floor, and live with it for a day.
- Buy the desk first. Everything else is easier to choose once you know the surface and the height.
- Assemble it, then re-tighten every fixing after a week — flat-pack desks settle.
- Sort cables before adding anything decorative. A tray, some ties and a box take twenty minutes.
- Add seating and light last, then adjust after a fortnight of real use.
- Before you move out, photograph the room, remove adhesive slowly, and keep the packaging for the flat-pack pieces. It shortens the check-out conversation considerably.
None of this equals a fitted study, and it is not meant to. It is a setup you can build in a weekend, work in comfortably for years, and take apart with no holes to fill.
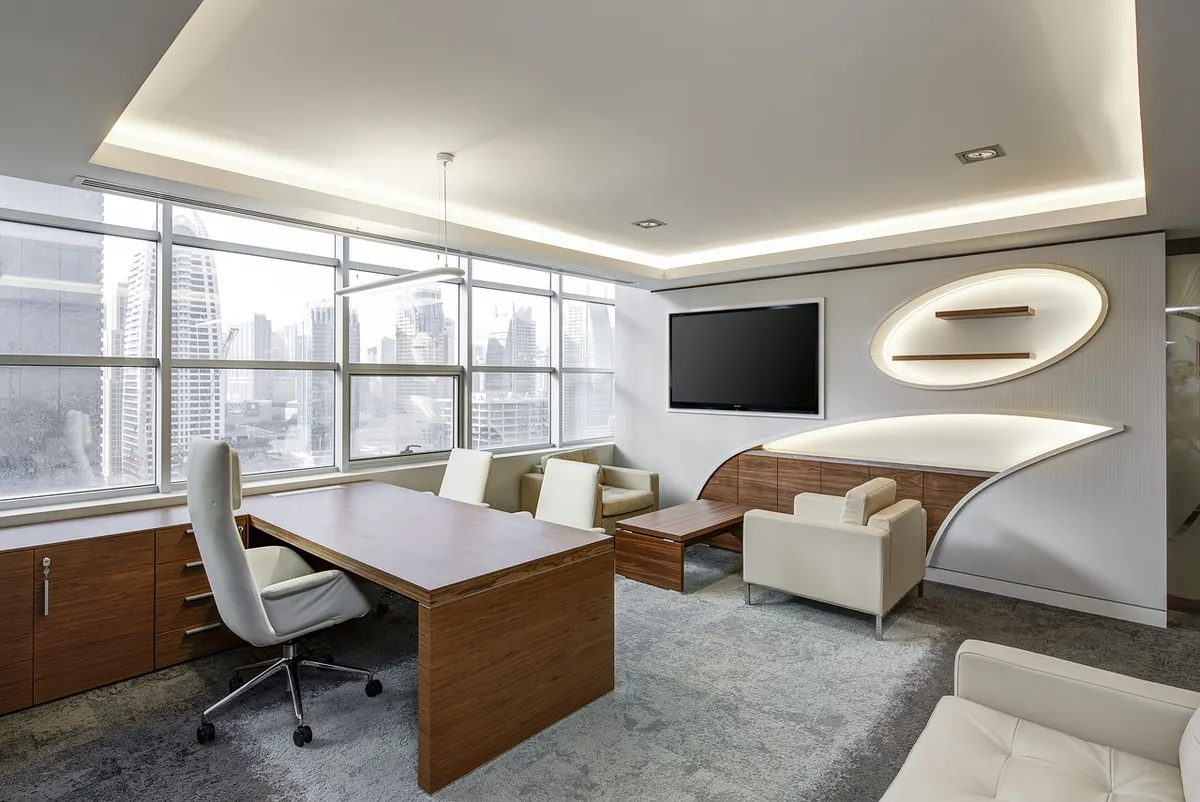
Photo: freephotocc / Pixabay